
A tap leaking daily is very hectic and a waste of water. This increases your water bill, and it also increases corrosion and waste of many metallic things around it, leaving stains. This leakage can happen anytime at any place, maybe it will be your kitchen or it will be your bathroom — this guide will save your money spending to plumber for the fixes and can save your time for waiting a plumber to come and this guide is all about easy methods and tools that are always available at your home.
Why Is Your Tap Leaking?
Before you start the repair, you need to understand the reason why the tap is leaking regularly?:
- Worn-out O-ring: A small rubber ring inside the tap handle that seals the valve. Over time, it deteriorates and causes leaks.
- Loose parts: Handle components may come loose with frequent use.
- Limescale or dirt build-up: This can block the valve and create pressure behind the handle.
- Damaged cartridge or washer: Especially common in mixer taps and compression faucets.
When you understand the reason why this is happening, it will become easy for you to fix the problem.
This Image is AI-generated for reference.
AI generated
Tools and Materials You’ll Need
- Adjustable wrench or spanner
- Flathead and Phillips screwdrivers
- Replacement O-ring or washer
- Silicone-based plumber’s grease
- Cleaning cloth
- Small bowl
(Unclogging solution if your area has hard water.)
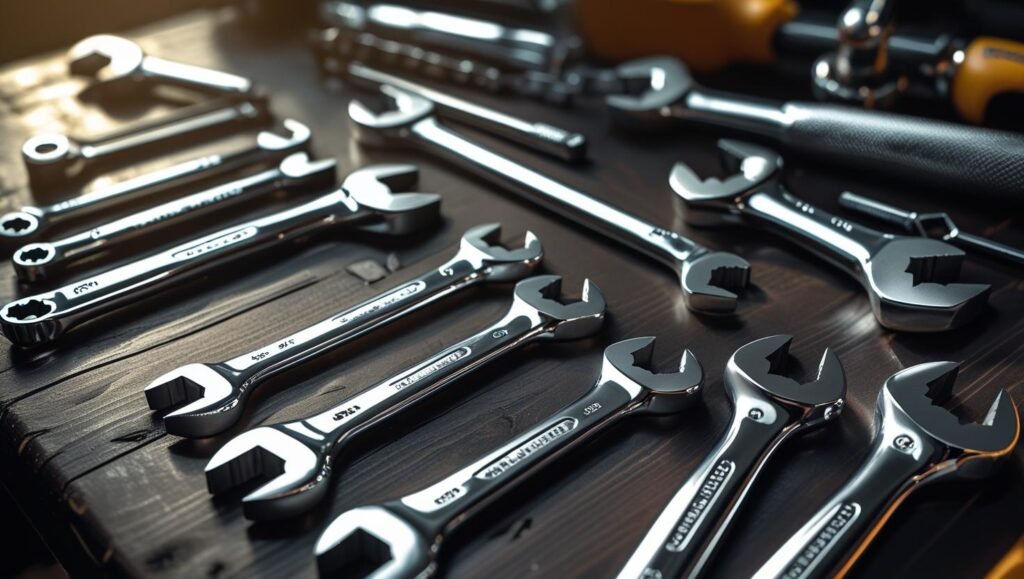
This Image is AI-generated for reference.
AI generated
Step-by-Step
Turn Off the Water Supply
Find the isolation valve from which you can turn off the water supply.
Remove the Tap Handle
Use screw driver to remove the screw of the handle maybe it will covered under the cap of handle. Then lift the handle off.
Inspect the O-ring and Internal Parts
Check the circular rubber of the handle if it’s broken or worn out; maybe you need to change it to fix the problem.
Clean the Area
Use a cloth to clean all the dirty parts and inside of the handle, or you can use vinegar to remove stubborn stains or rust in your parts.
Replace the Faulty Part
Replace the parts if damaged like screw or handle cover or the circular rubber under the cover causing the tap leak problem
Apply Plumber’s Grease
While replacing the circular rubber, you need to apply plumber’s grease inside so that the rubber takes its position perfectly.
Reassemble the Tap
Now fix all the parts and screws back and then turn on your main valve to run water again from the tap to see if the problem is solved or not.
Tips to avoid problems in the future:
- Clean tap heads weekly to prevent grime and scale build-up.
- Turn taps off gently to protect internal seals.
- Inspect for early signs of dripping and fix small issues before they grow.
- Use filtered water if you live in a hard-water area.
When should you call a plumber?
If the problem after performing the above steps still continues, then you need to call the plumber, as they have specific tools to remove the internal parts as well as to open it.
External Resources for Help
For visual learners, you can find helpful videos and repair guides at:
https://www.diy.com/search?term=tap+leak
Conclusion:
Solving a tap leaking from the handle isn’t just about saving water — it’s about controlling these everyday fixes any time and anywhere, solving your problems easily, and you will be informed of the problems in the house maintenance, and this will also help you to save your money.